Magic Soap
Posted by Rebekah Cook on
Guldies is back! This is our second installment in a series about Swedish claymation animator and sculptor, Alex Unger.
You've seen Magic Water, now here is:
Magic Soap
As promised in our previous post, this time we're focusing on the technique used to simulate a bouncing motion.
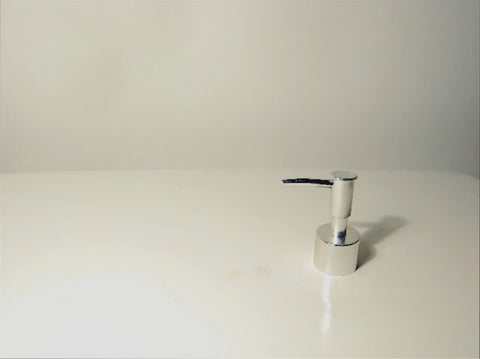
You can "levitate" the bouncing object with the same method shown in our Making Stuff Fly tutorial. Use a support (wire, clay, etc) to raise the bouncing object to varying heights for each frame, then place each image over a "blank" frame in an image editor that supports layers (see the bottom of this post for an example). Finally, erase the support and any odd shadows.
Simple, but time-consuming.
Now for the Bonus Tips!
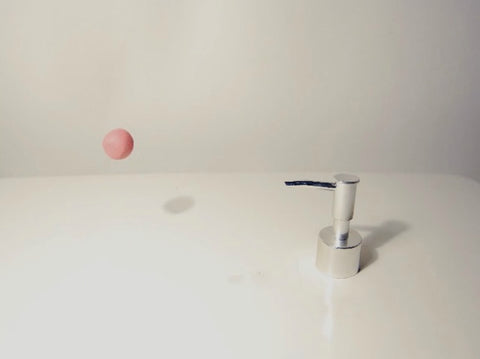
1. If the bounce is straight up and down, you can use a different-colored clay as a pliable support column. It's easy to adjust, and not any harder to erase. If the bounce is traveling, use a clay-anchored wire as the support mechanism, to ensure a smoother curve and hold asymmetrical shapes better.
2. Make the ball/cube bulge and stretch as needed to communicate both the force of the bounce and the texture of the object. For example, the "soap" shown in this short quivers much more than the "water/ice" did.
3. Light the set more strongly from one side, to produce clear highlights and shadows. The enhanced texture and depth to the movement will add to the realism and drama of the illusion.
Alex also emphasizes that to pull off a realistic bouncing animation, you want to avoid reusing the same sound effects over and over. He uses a combination of DIY sounds and library FX to paint distinct sound palettes for each bounce. His artistic dedication pays off!